
Final Kickstarter Update! Cutting Lexan, G-code Generation in Abundance
Happy Wednesday Everyone!
As things are slowing down post kickstarter we’re going to take the update from every week to every other week so I’m not spamming your inbox. This will also be the final regular update that we’ll post on the Kickstarter page so if you want to stay in the loop don’t forget to sign up for updates from our website. It’s easy to unsubscribe, we promise!
Shipping:
Building the machine that builds the machine is still taking a significant amount of my time. This week I continued to do battle with getting all of the warehouse software to interconnect correctly, and mostly declared victory. It’s amazing how it takes as much or even more time and effort to make and ship something than it does to design it. I guess it’s all important. We’ll keep trying to make both the machine better and the machine that builds the machine better. Thanks for bearing with us through the hiccups!
Cutting Polycarbonate:
As part of testing this week I decided to cut out some clear plastic end windows for the planter box greenhouse that I made a few weeks back.
I’ve tried to CNC cut acrylic in the past and I’ve had mixed results with it melting and being hard to work with, so this week I decided to try cutting polycarbonate or Lexan.
It’s an incredibly tough material, but it turned out to CNC cut quite easily. I tested two types and both cut easily with a single flute router bit at 1500mm/min.
The first type that I tested is this hollow core panel which is specifically designed for making greenhouses and things like that.

It cut quite nicely. The channels between the layers filled up with chips, but they were easy to vacuum out.

I cut it with the protective peal ply on both sides which helped to prevent it from getting scratched. I was a little worried it might get tangled in the router bit, but that wasn’t an issue. I cut it in two passes.
Here it is with the peel ply removed.

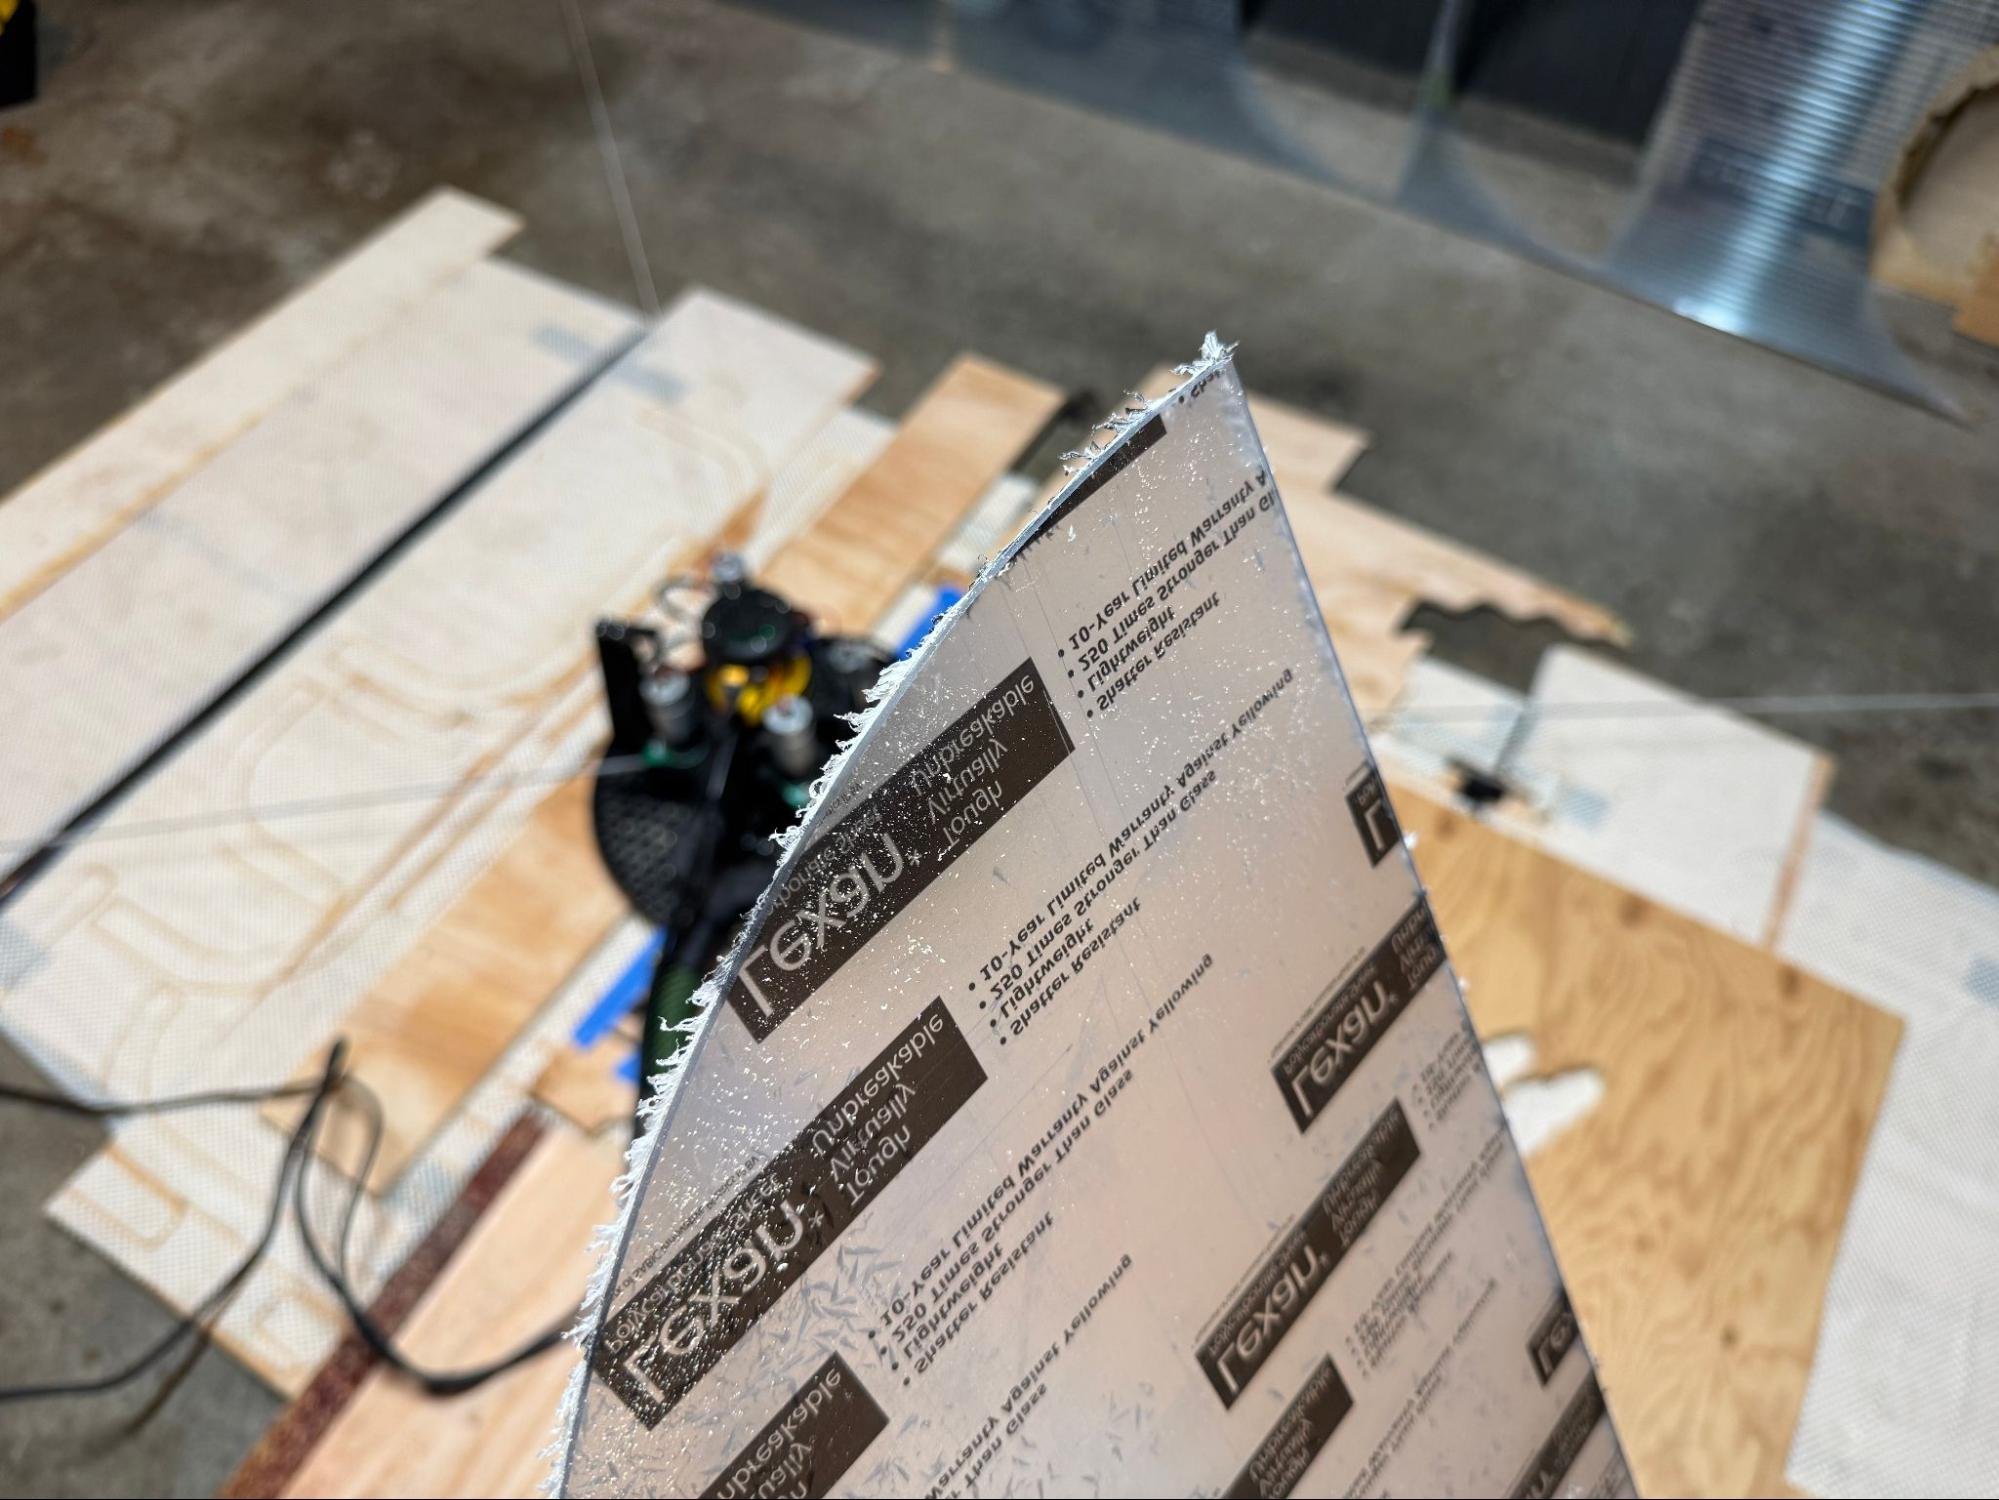
Next I tried cutting solid Lexan. It’s a bit pricey so I got quite a small piece and taped it to a bit of scrap wood. I didn’t get my home position exactly right so there is a small flat spot on the top of the part where it didn’t quite fit, but other than that it cut quite easily as well.

Again, the peel ply protected the material from getting scratched and I also cut this part in two passes.
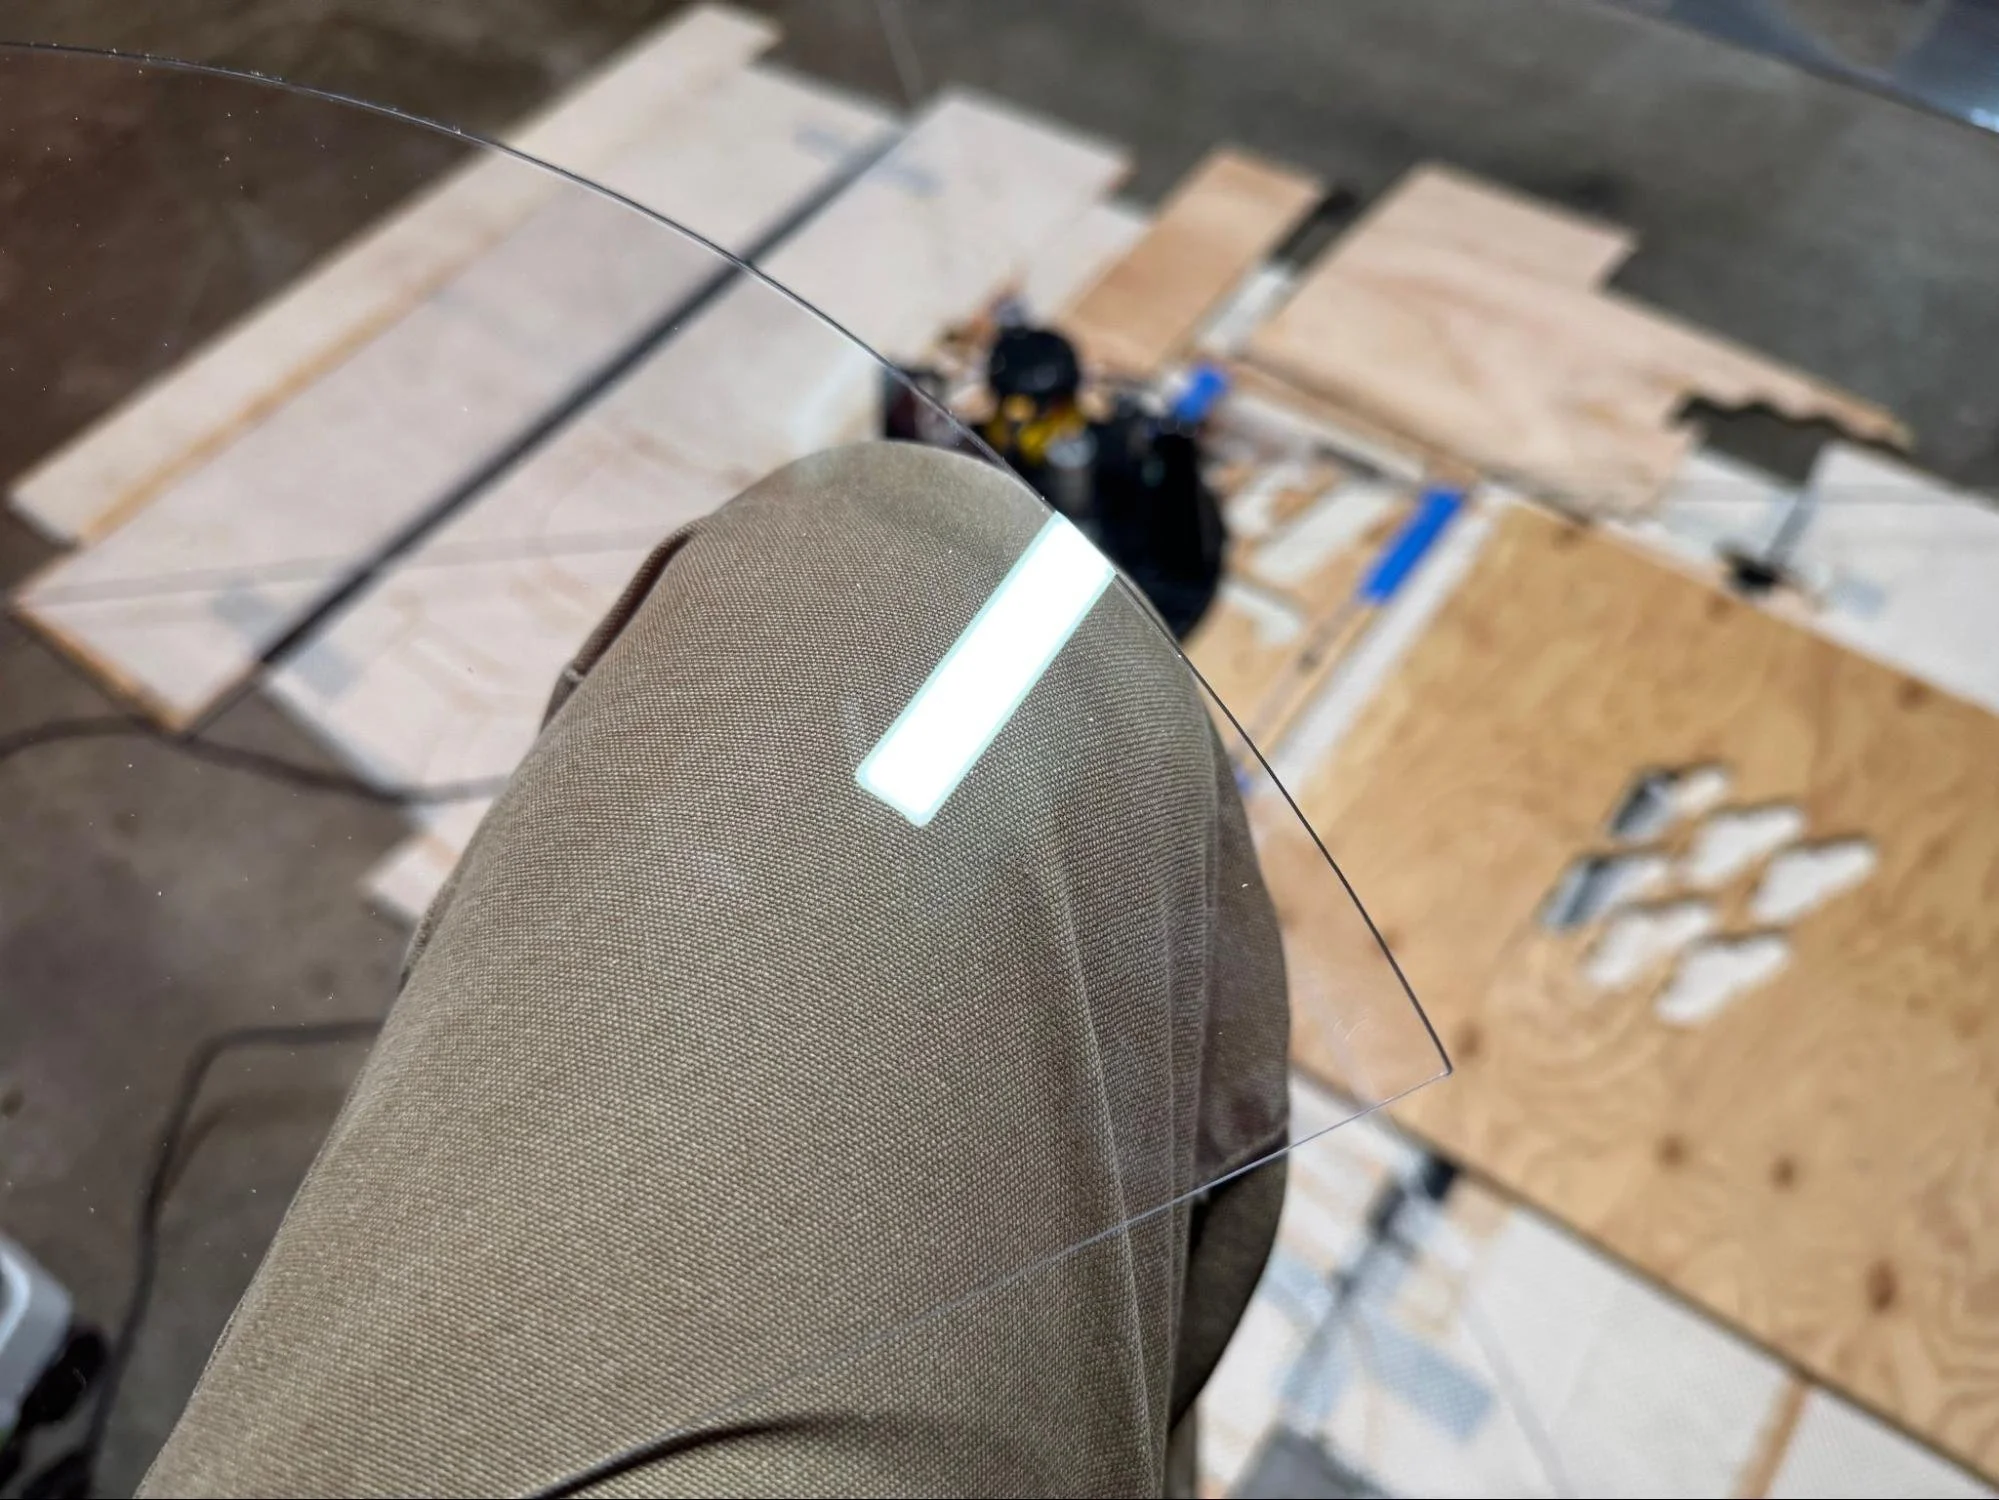
Here it is with the protective film removed:
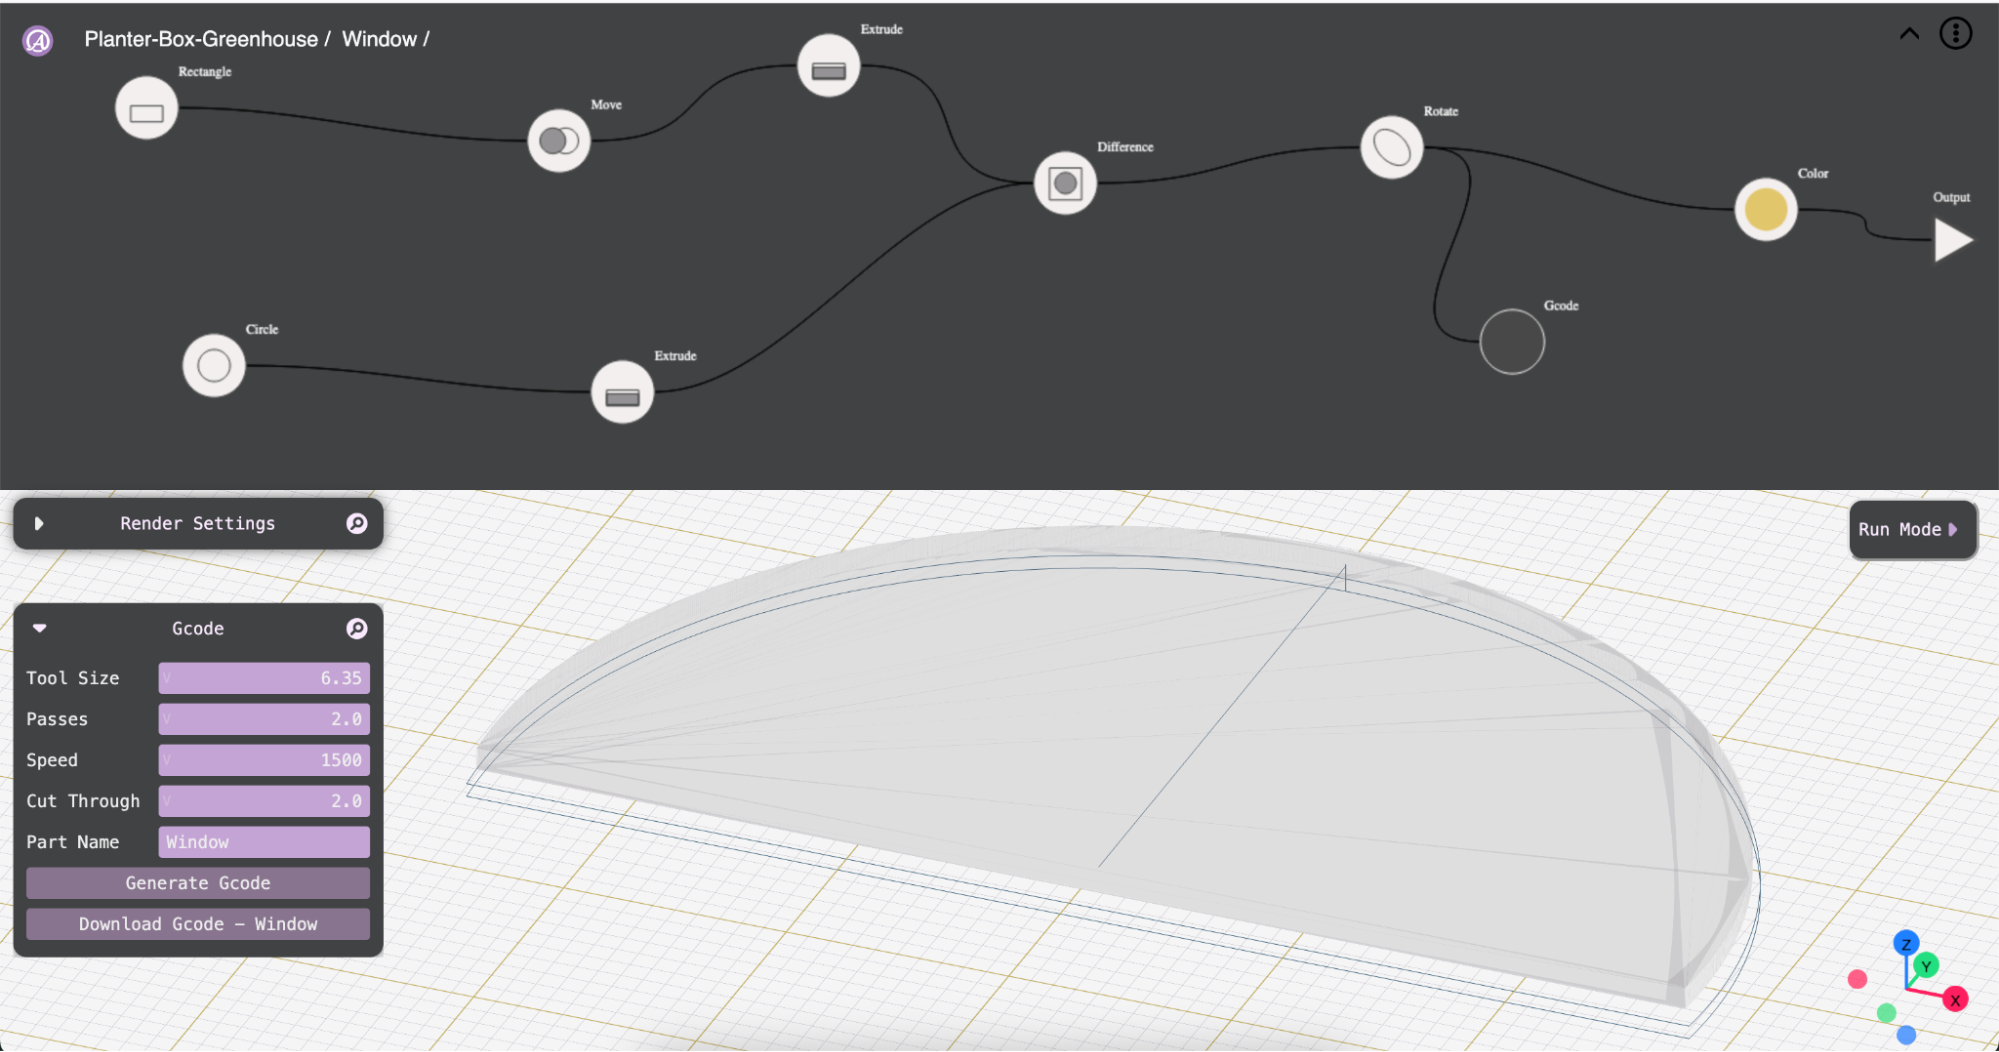
Excitingly, these Lexan parts were the first thing that I made using gcode generated directly in Abundance. That means the design was done in our free and open CAD software, the gcode was generated in our software, and the parts were cut on our machine.
There is a lot of work to do to make each of those steps easier and more user friendly, but it’s still an exciting first step.
Before going to cut an actual physical object I did some testing with a whiteboard marker stuck in the spindle so technically this slightly smudged “Hello World!” was our first project.

I had to cut the back off of the pen to make it fit.

That leads us to our next topic…
Generate gcode directly in Abundance!
You can now connect your geometry to a gcode atom and generate gcode to cut it out directly in Abundance.
It’s still quite beta, we’re using the excellent KiriMoto gcode generation engine, but I think that we might be the first folks trying to use their API so we’re finding all the bugs. Overall I am very excited about how this is going to work out.
Because Abundance already has all the information about your material there is no need to click on any edges or select the depth of cut. We have some basic settings that you can change as needed, but for the most part the goal is to make things as simple and automatic as possible.
Projects:
Forums member @TimS continues to crank out these astounding military emblems.

@Waldo_CNC made a very nice stool for his first project

And @themanro did a splendid drawer with joinery for his first project.
